Rustic Spelt Flour Ciabatta – Simple, No-Knead Recipe 🇮🇹
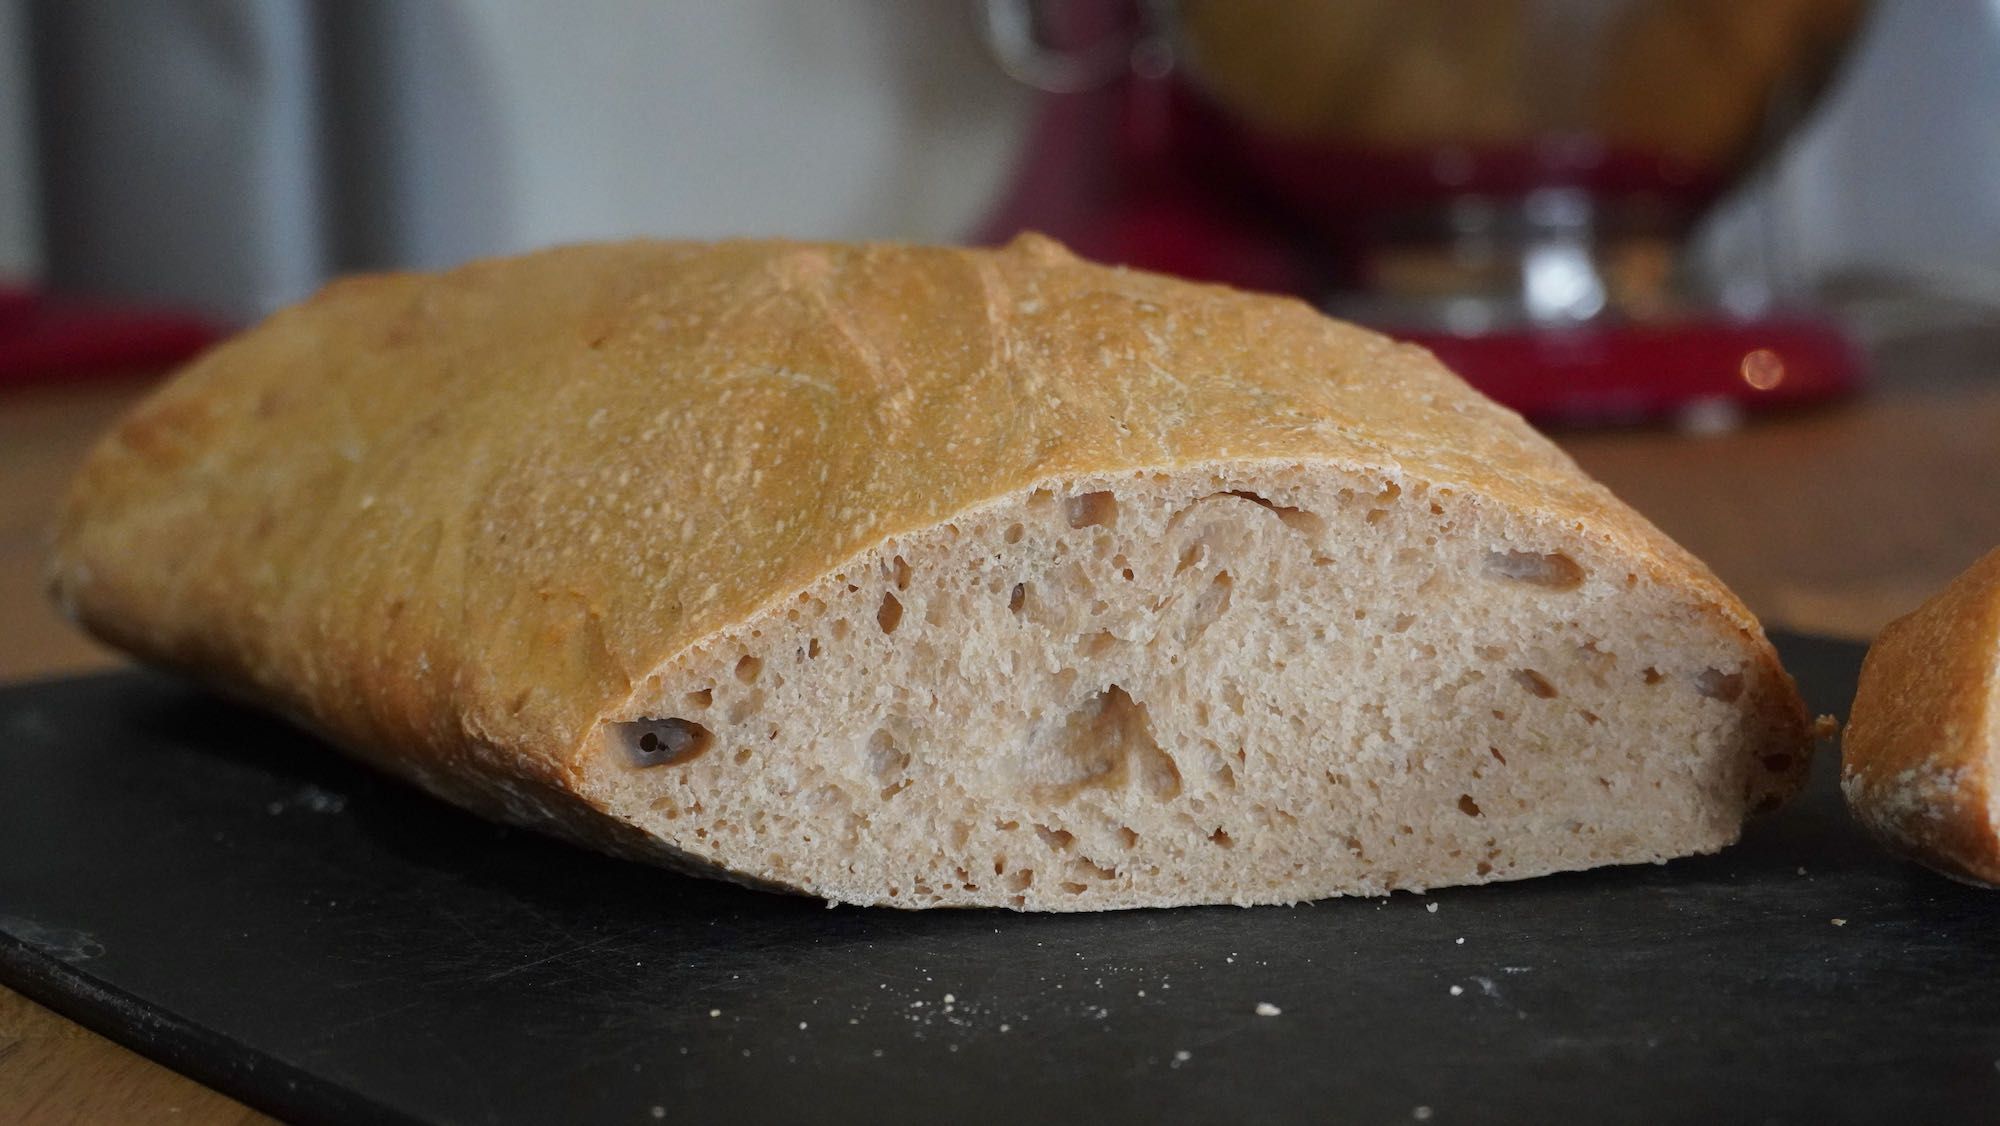
As Ciabatta is a rustic looking bread it is easier for beginner bakers to recreate at home. The secret is a sticky and very hydrated dough, then the strange shape more imperfect, the better.

Baking spelt ciabatta at home from scratch is easier than you think! With just a little time and patience, you can recreate the essence of this rustic Italian bread using white-spelt flour, olive oil, water, salt, and yeast. Ciabatta’s signature look—airy, golden, and a bit imperfect—makes it ideal for beginner bakers. The secret lies in using a very hydrated, sticky dough and gentle folding instead of kneading. No bread machine or fancy equipment is needed—just your hands and a love for homemade bread!
🥖 What Is Ciabatta?
Ciabatta is a rustic Italian bread known for its flat, oblong shape, crispy crust, and a soft, moist interior filled with air pockets. The name ciabatta literally means “slipper” in Italian—fitting, given its unique, flattened shape that resembles a well-worn house slipper.
🇮🇹 Where Does Ciabatta Come From?
While Italy is undeniably the birthplace of ciabatta, the exact region of origin is up for debate. Some sources trace its roots back as far as the 1400s, with early versions found in Tuscany, Rome, and Sicily. However, many modern references—and several food blogs—suggest that ciabatta, as we know it today, was developed in the Lake Como region of northern Italy in the 1980s as a response to French baguettes.
According to The Guardian's article The Secret Life of Ciabatta, bakers across Italy may have crafted variations for centuries, but the iconic modern version surged in popularity relatively recently and spread globally.
🥖 Was Ciabatta Invented in the 1980s or Medieval Times?
While rustic, slipper-style breads have been made across Italy for centuries, the ciabatta we know today was officially born in the 1980s. You could say there have been “ciabatta-like” bread baked in Italian homes for generations—probably using Nonna’s secret recipe passed down through the family. These versions were most likely rustic, highly hydrated, and imperfectly shaped—just like modern ciabatta.
However, it was a clever Italian baker named Arnaldo Cavallari who truly put ciabatta on the map. In 1982, he developed and registered a specific recipe, calling it Ciabatta Polesano, named after his hometown of Adria in the Polesine region. His version used an extra-hydrated dough, resulting in the airy, chewy interior we associate with ciabatta today.
Cavallari began promoting ciabatta as the Italian answer to the French baguette, positioning it as the perfect sandwich bread. His creation became so successful it was dubbed “the bread that saved Italy”—and he went on to license the production of his ciabatta recipe in over 11 countries.
🥖 Is Ciabatta the Same as Sourdough?
No, ciabatta and sourdough are not the same—though both are loved for their rustic texture and chewy crust.
- Ciabatta is typically made with highly hydrated dough, olive oil, yeast, flour, salt, and water. It has a light, open crumb and a slightly crisp crust.
- Sourdough, on the other hand, is made using a natural starter culture—a fermented mixture of flour and water that contains wild yeast and beneficial bacteria. Sourdough bread tends to have a tangy flavour and requires longer fermentation.
So, while both are artisanal-style breads, the fermentation method and ingredients set them apart.
🍞 Why Is Ciabatta So Good?
Ciabatta is incredibly versatile and delicious thanks to its:
- Soft, airy interior and crispy crust
- Mild flavour that pairs well with sweet or savoury toppings
- Ideal shape for slicing, making it perfect for:
- Toast
- Sandwiches
- Cheese platters
- Dipping in olive oil or soup
Whether toasted with butter or served fresh with a drizzle of olive oil, ciabatta is the ultimate go-to bread for any occasion.
Takes prep. = 20 minutes plus 55 minutes rest time
Bakes = 20 minutes
Makes = 1 x 500g loaf
Ingredients
- White Spelt Flour – 500g (about 4 cups)
- Quick Fast Action Dried Yeast (or fresh yeast 10g/ 1tbsp) – 7g packet
- Salt – 10g
- Olive oil – 1 tbsp
- Lukewarm water* – 325ml (about 1 + 1/3 cups)
Method
- PREPARE a square baking tin by lightly greasing. This will be used for resting the dough.
- MIX flour, yeast and salt in a large bowl. I use my Kitchen Aid with the dough hook, but this can be also mixed by hand. Careful to not put the dry yeast next to the salt, as it can counteract the activation.
- POUR in warm water (I always use my measuring jug as it is easier to pour) and olive oil.
- COMBINE on your stand mixer for at least 5 minutes, I tend to mix for 10 minutes to ensure that it is silky and smooth. The dough should come away from the sides of your mixing bowl. If doing by hand knead at least 100 times for about 10 minutes.
- ADD a little olive oil to your hands and shape into a ball, then place the dough in your square tin and cover with a damp cloth or plastic wrap to rest in a draft-free warm spot for 20 minutes.
- FOLD: carefully lift the dough into your square baking tin folding the left side over into the centre, then right side, then turn over and place the dough back into the tin to rest again. Rest again for 20 minutes, then repeat this process 3 times. Then final time rest for only 10 minutes. Before baking the dough remove it from your baking tin and rest on a lightly floured bench for 2 minutes. You can flip it over and flour both sides if you like.
- PREHEAT oven 230˚C fan/ Gas 9, after number 3 folding and preheat your large flat baking tray.
- STRETCH out your dough to form a rectangle shape and gently place it on the preheated tray.
- DROP the oven temperature down to 2o0˚C fan, Gas 7 and bake the bread for 18-20 minutes until golden brown. Tip add 1/2 cup of water to a baking tray and place at the bottom of your oven to create a little steam and moisture to ensure you get a lovely thin crust.
- ONCE golden brown and cooked remove and rest for at least 30 minutes to cool. If you can wait that long.
Sue Maree P Baking Tips
- WARM WATER – to achieve a good temperature I add 100ml of boiling water from the kettle then the rest cold water from the tap. Test it by putting my finger in to check if it is not too hot. I find that this tends to be a better way of getting the right warm water temperature.